Mahogany Dreadnought Acoustic Guitar
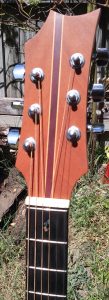
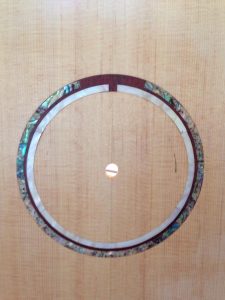
Headstock and inlay mahogany dreadnought acoustic guitar
This is the first acoustic guitar I build with Randy at Spencer Acoustics. Mahogany back and mahogany double sides with a beautiful tight grain spruce top. The guitar is very lightweight and acoustically very loud. In order to sing over this guitar, you really have to dig deep down in your diaphragm and belt it out – this guitar will drown out a quiet singer in an acoustic setting. Vocals really need to be miced if performing.
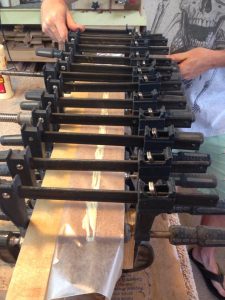
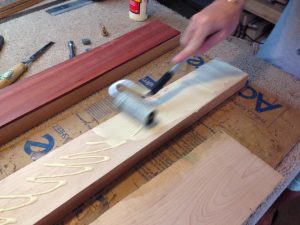
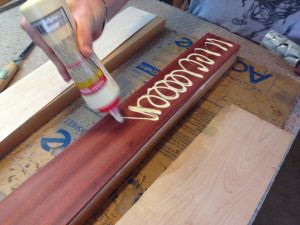
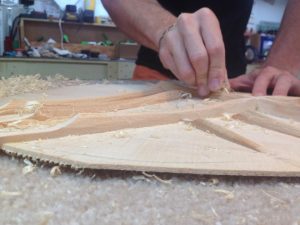
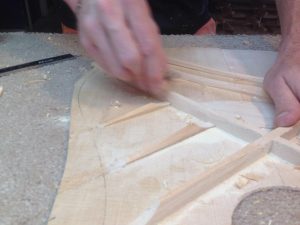
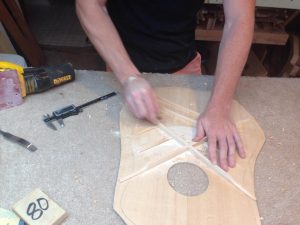
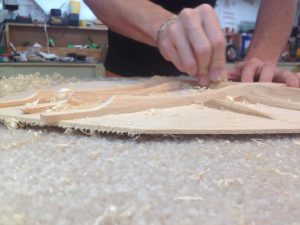
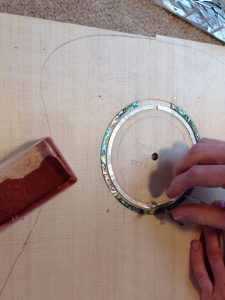
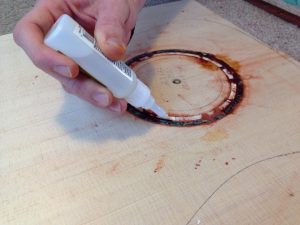
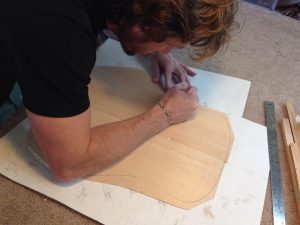
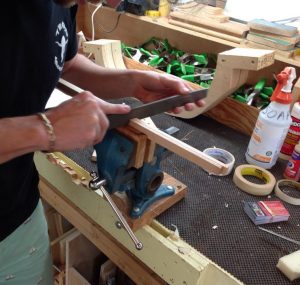
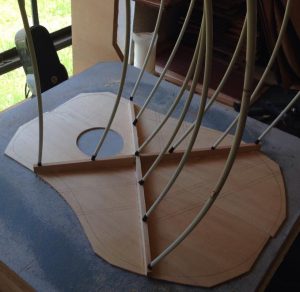
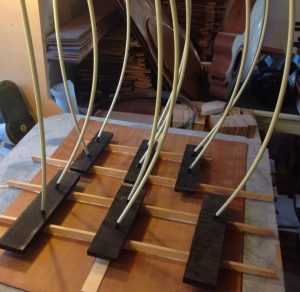
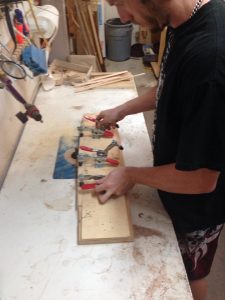
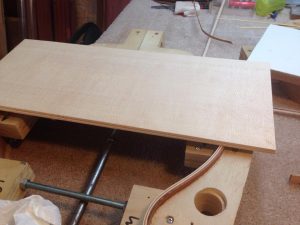
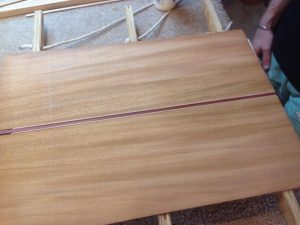
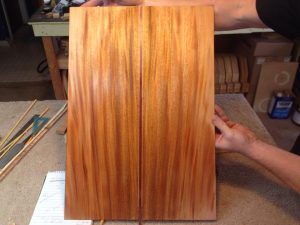
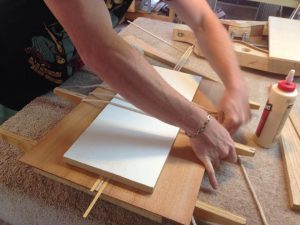
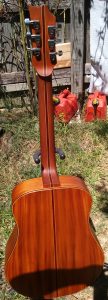
As you can see from the photos the mahogany is visually striking and almost iridescent. The mahogany has a 3 dimensional aspect to it. If you look though the Acoustic Guitar Build section of this site you can see the step-by-step process used in building this beautiful dreadnought acoustic guitar.
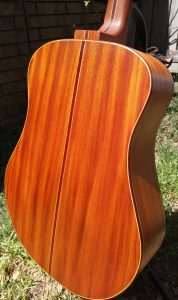
Back of mahogany dreadnought acoustic guitar.
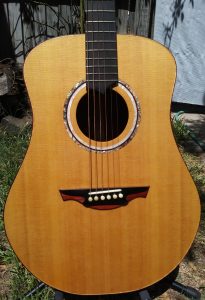
Mahogany dreadnought acoustic guitar.
Mahogany dreadnought acoustic guitar.
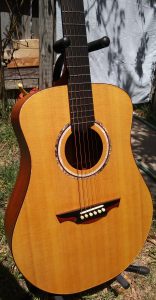
Mahogany dreadnought acoustic guitar.