X bracing, go bars and Sharp pencils
Laying out the braces for the spruce top.
A sharp pencil is a precise tool, while a dull writing utensil can make for an unfit guitar. There is no room for error when building a fine instrument – 1/100 of an inch here and there times 100 measurements adds up to a whole inch! Yikes that can mean your neck is crooked, so sharpen those pencils before making any marks on your wood.
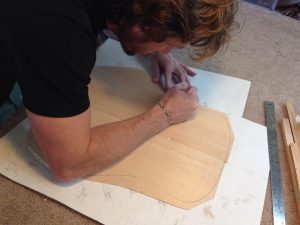
The white sheet is a template for a dreadnought acoustic Martin style guitar. I transfer the line from template to spruce and then use a ruler to connect the dots. This is the blueprint for the top’s braces.
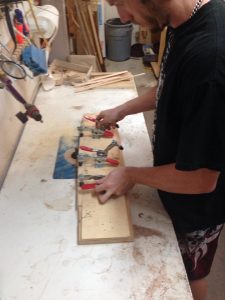
Once the spruce top is marked, I need to build the x-brace itself. A file is used to notch the x-brace precisely for a tight fit. The x-brace consists of two long pieces notched to fit inside one another. This is the main brace for the top of the guitar.
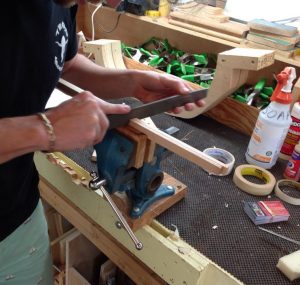
Filing notch in the x-brace for top of guitar bracing.
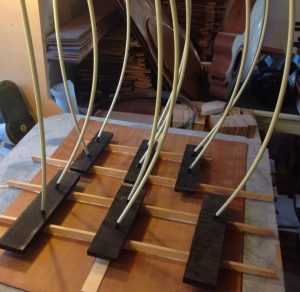
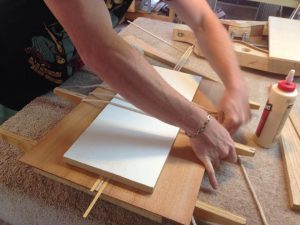
Go bars are used again to apply downward pressure on the glued surface.
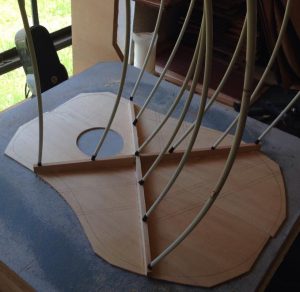
X brace glued and positioned with go bars.